Learn how to use notices for company announcements, policy updates, operational changes and WHS alerts. This guide covers creating, formatting, and scheduling formal communications.
1. Navigate to https://secure.hrcommand.com.au/
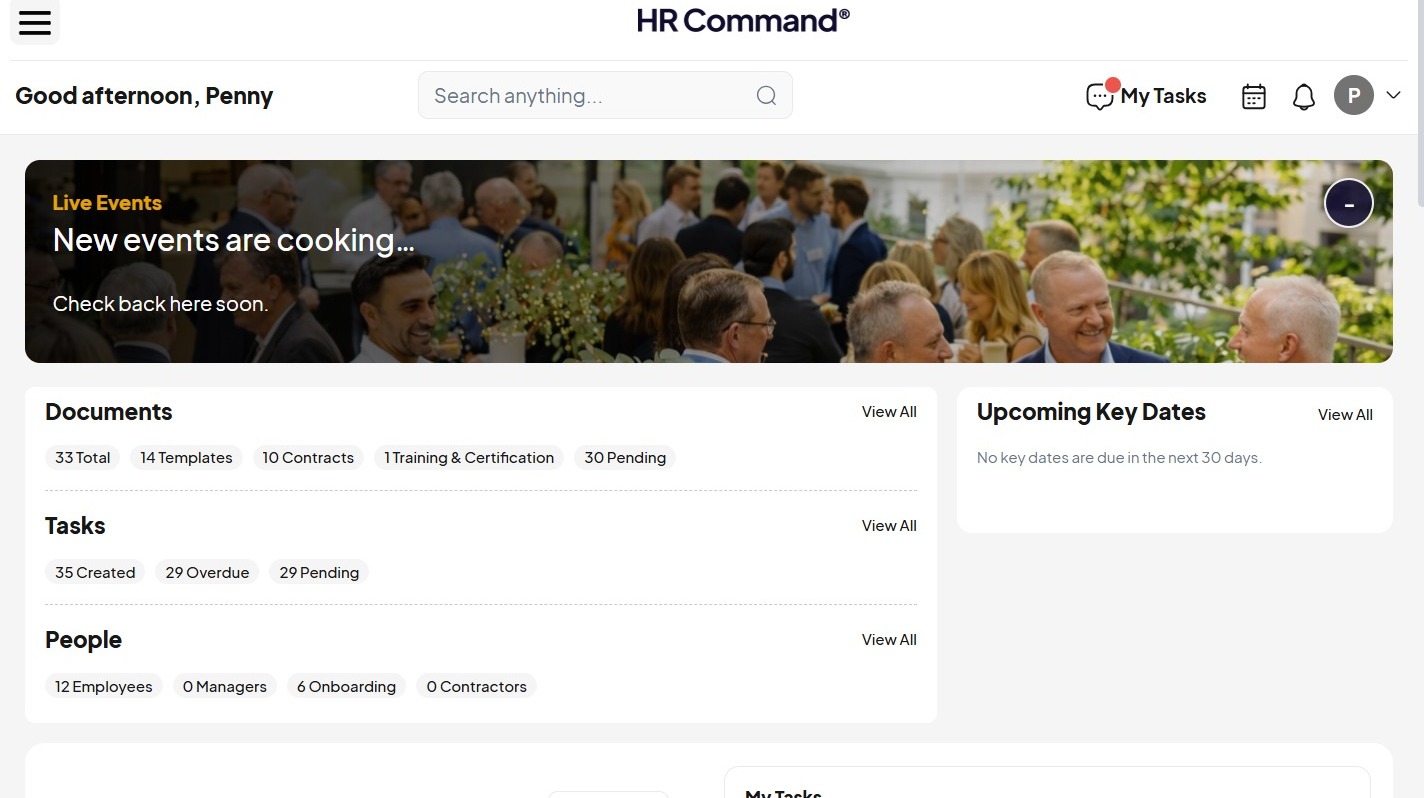
Open Communications
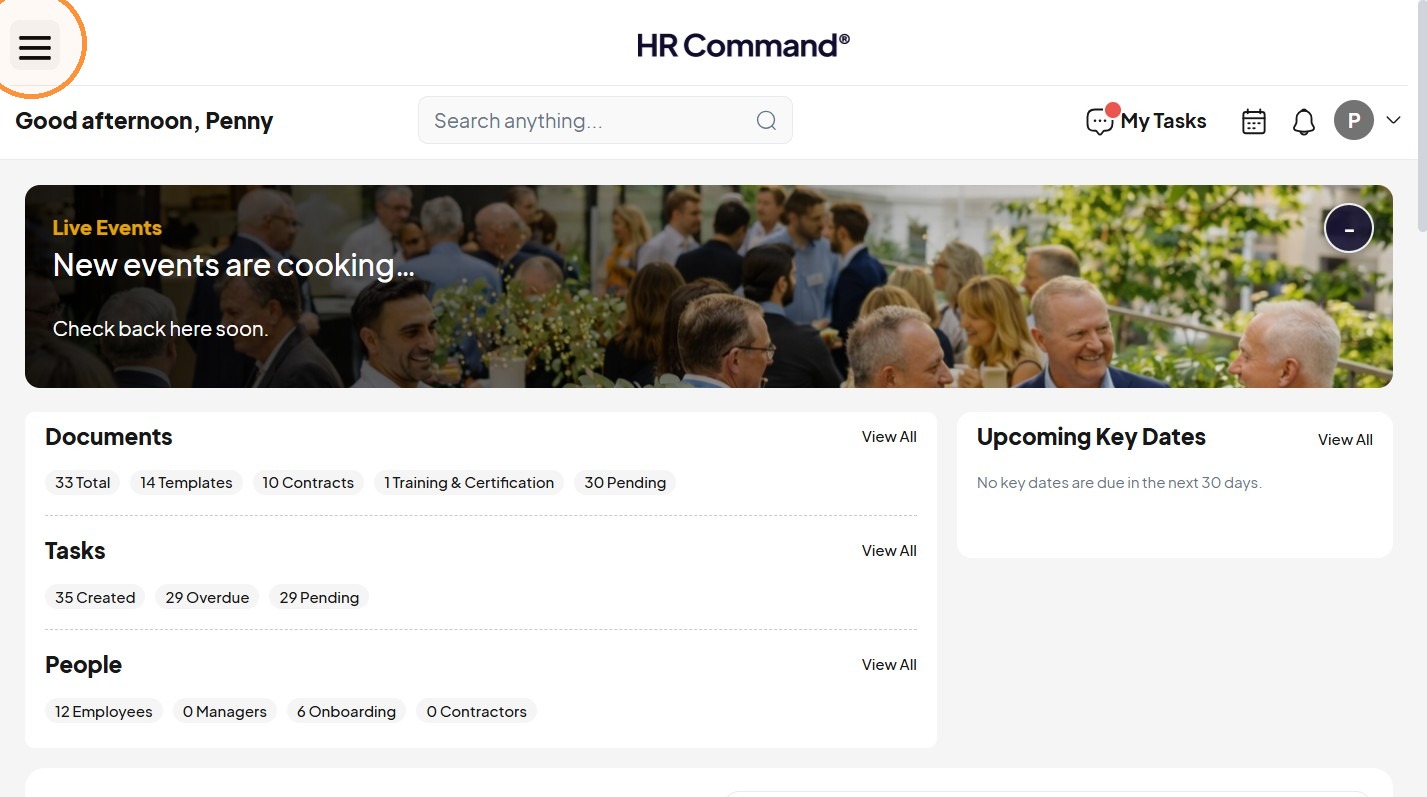
2. Click the navigation menu.
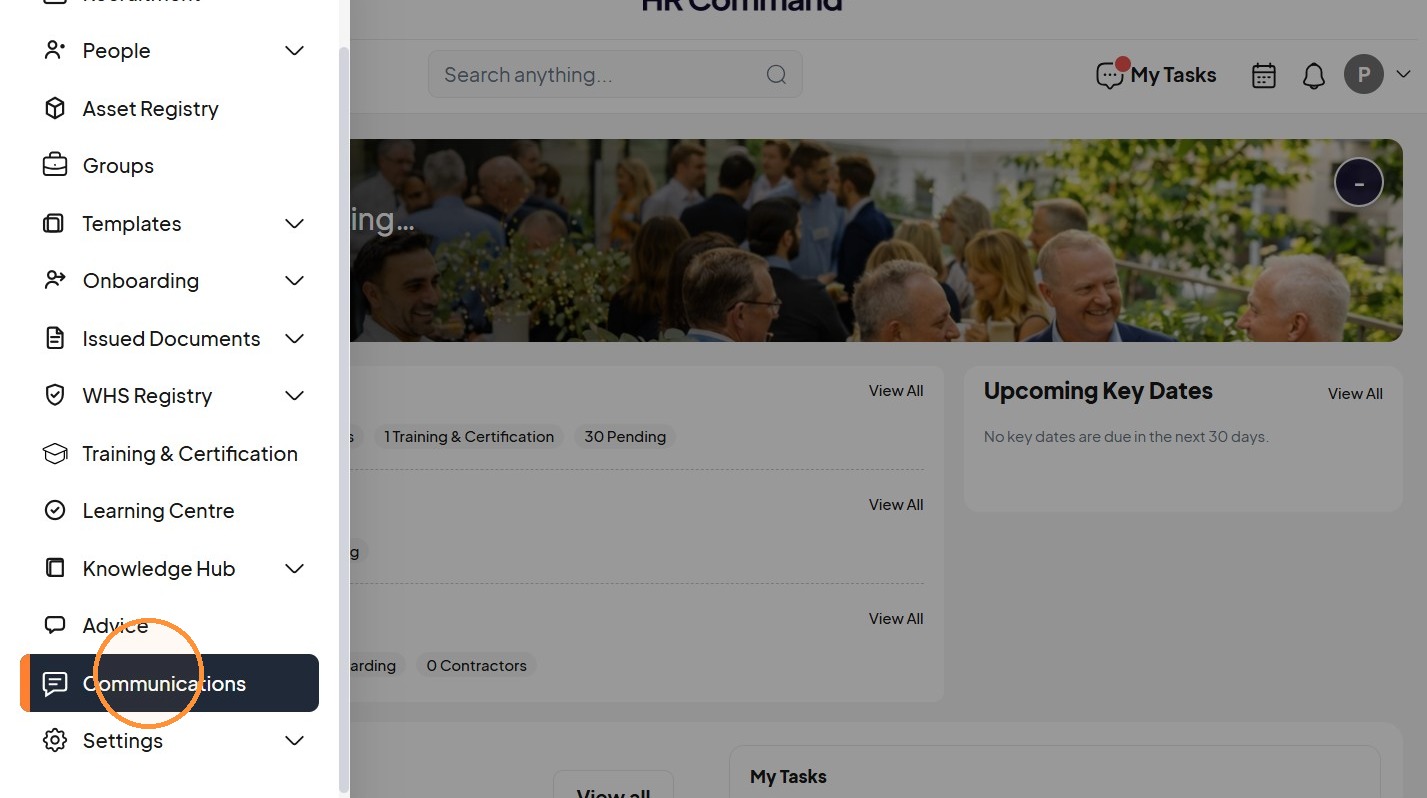
3. Click "Communications"
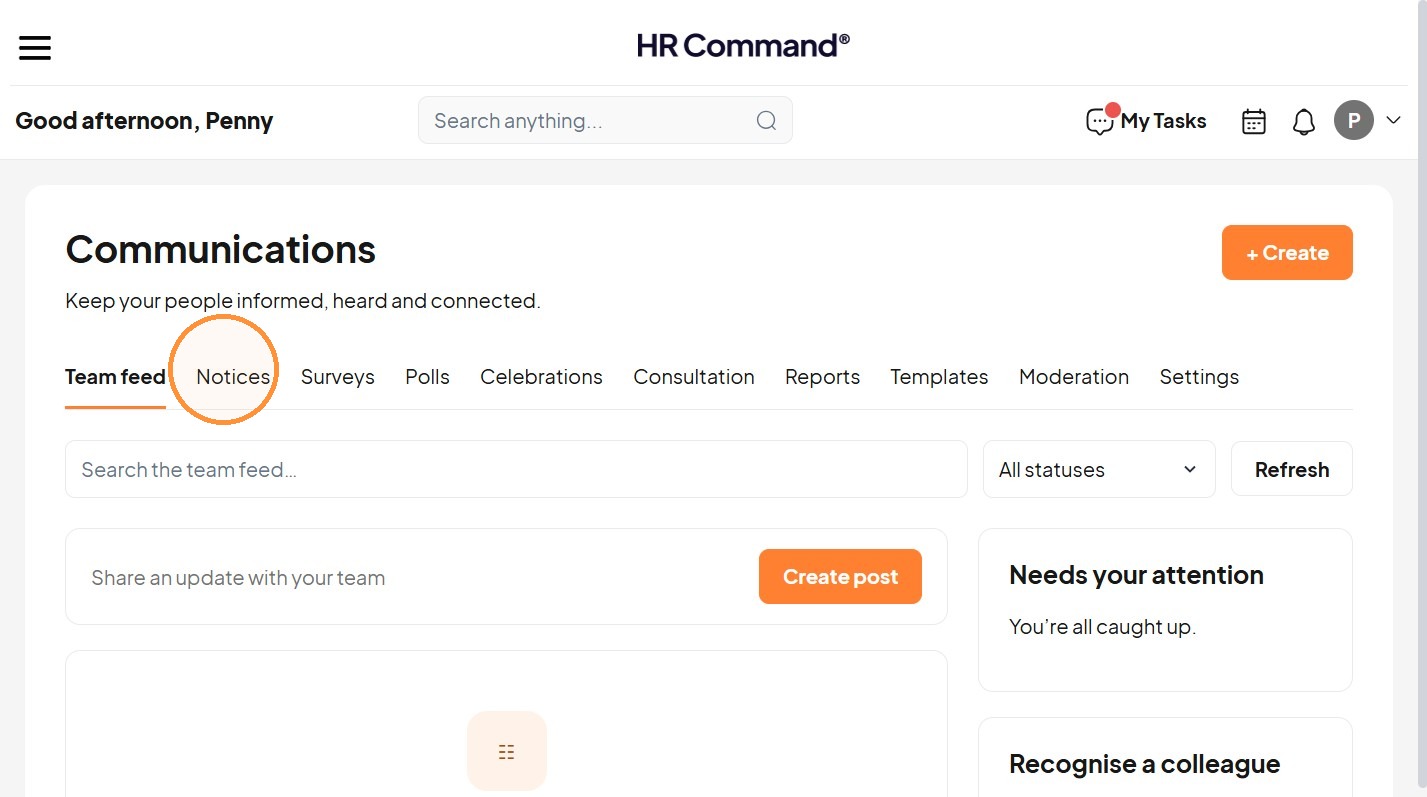
4. Click "Notices"
Create Notice
5. Click "+ Create"
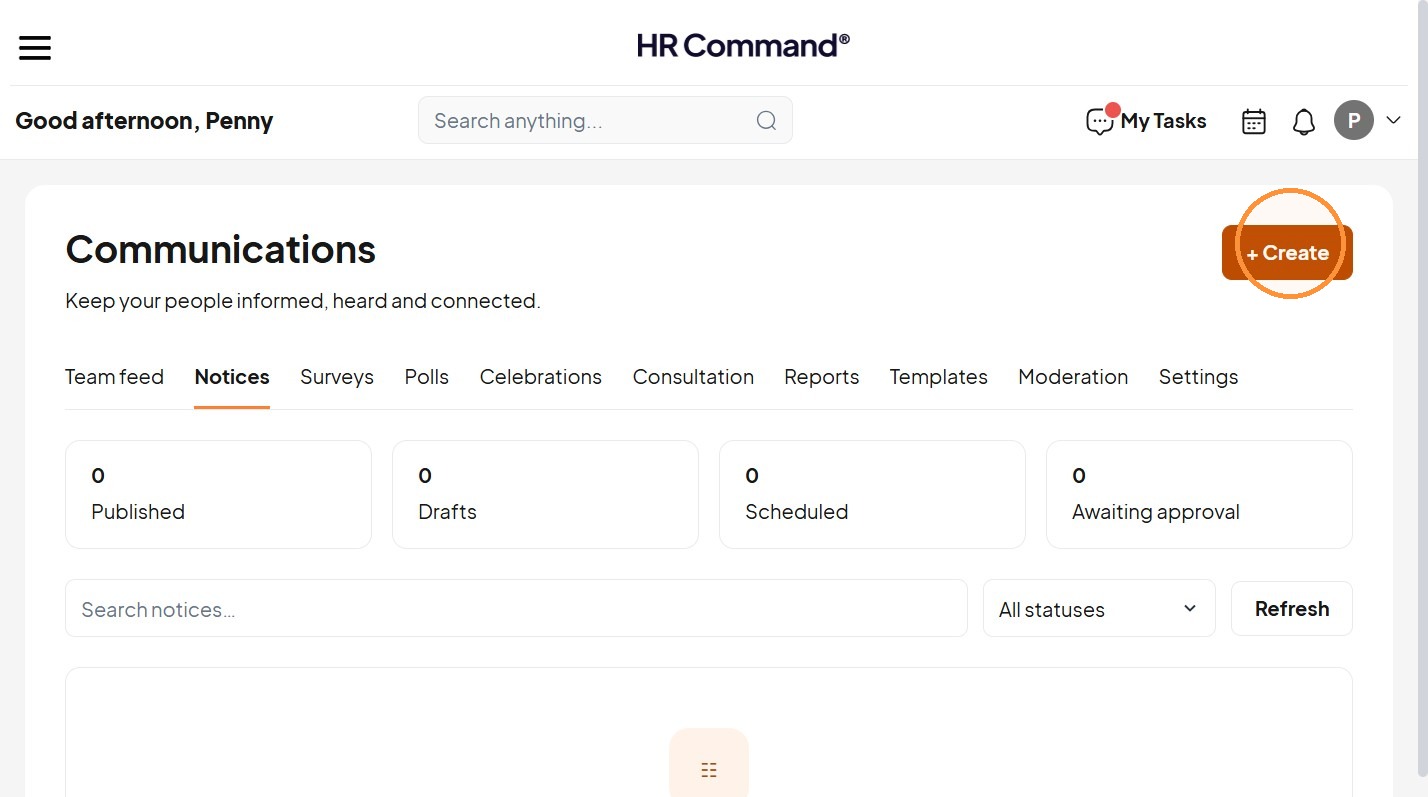
6. Choose "Notice" as the communication type.
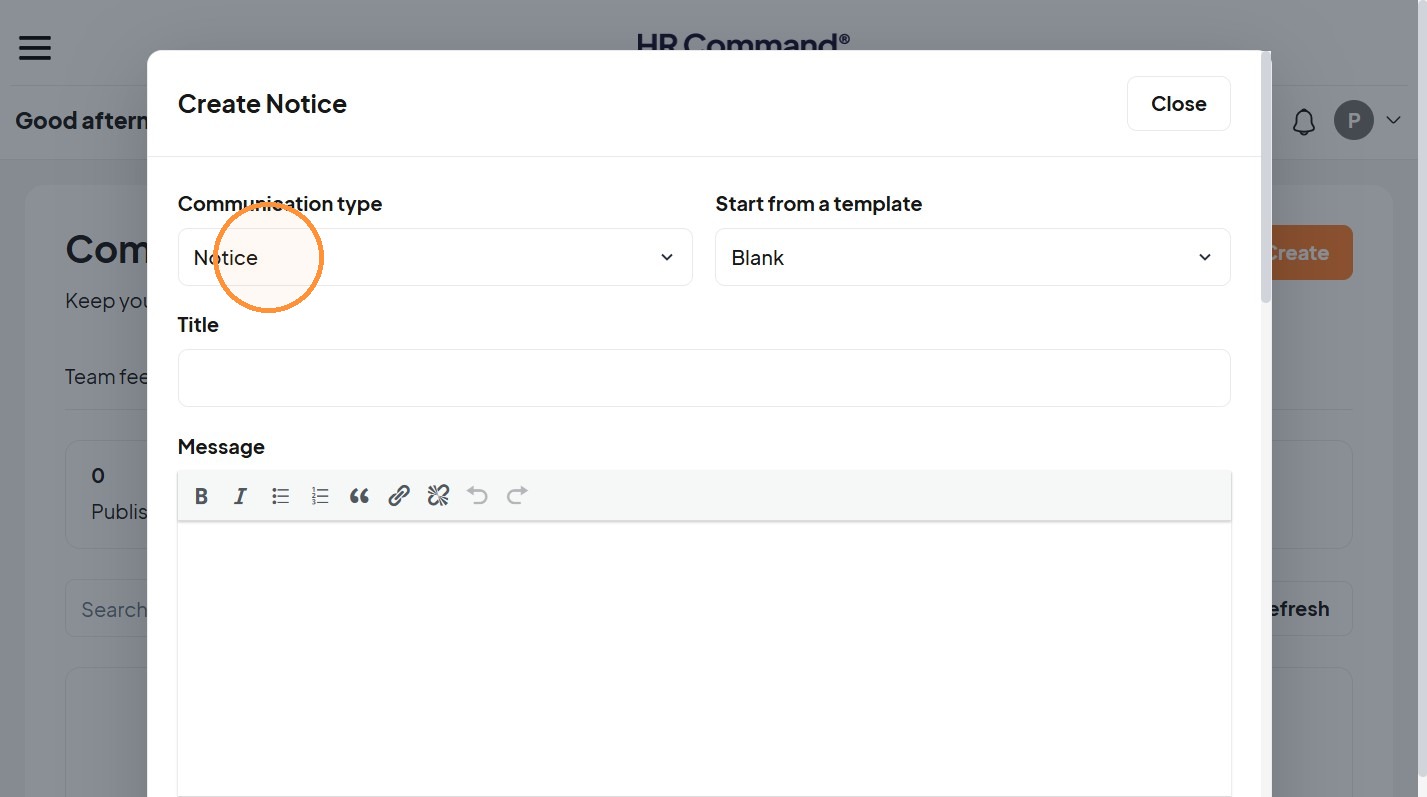
7. Start blank or choose a template.
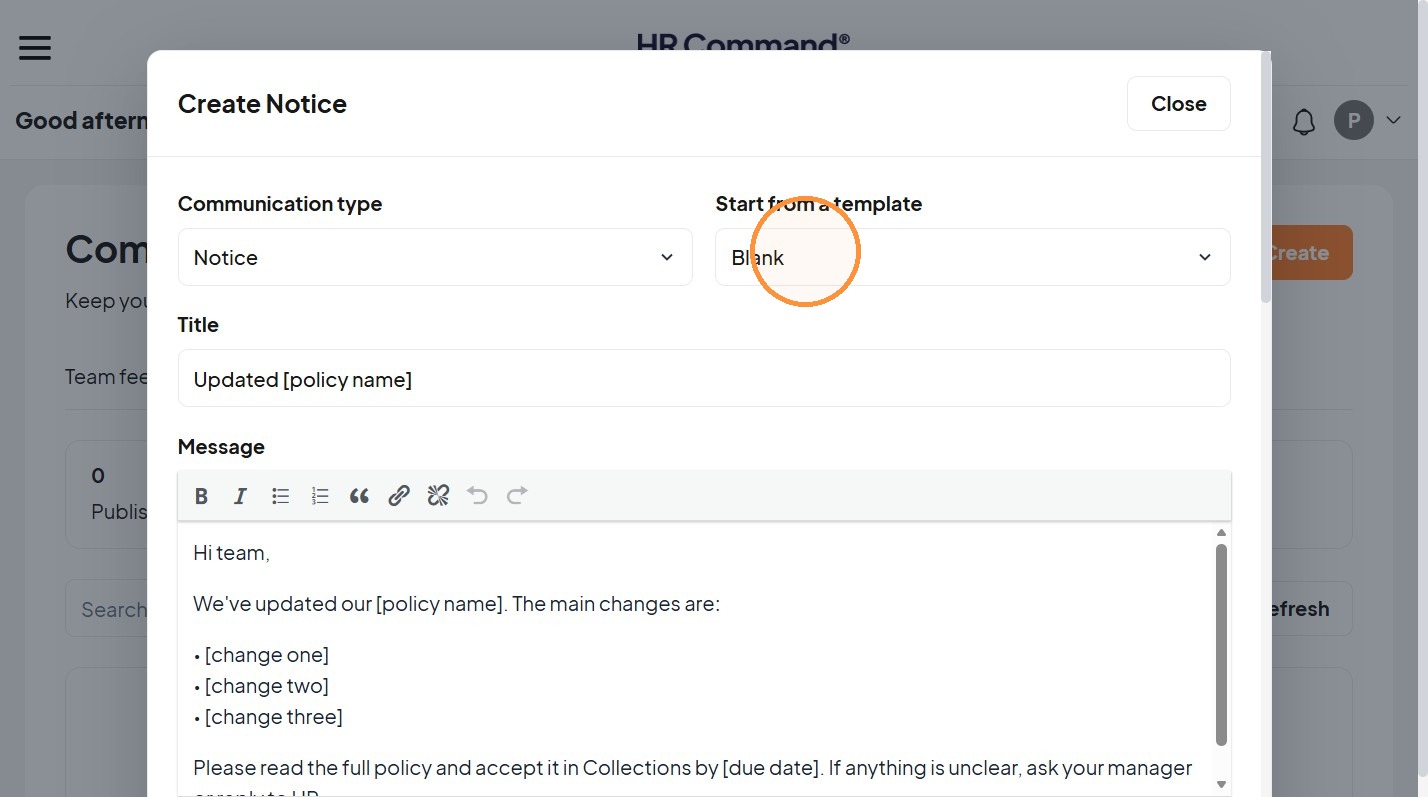
Enter Notice Content
8. Add a clear title.
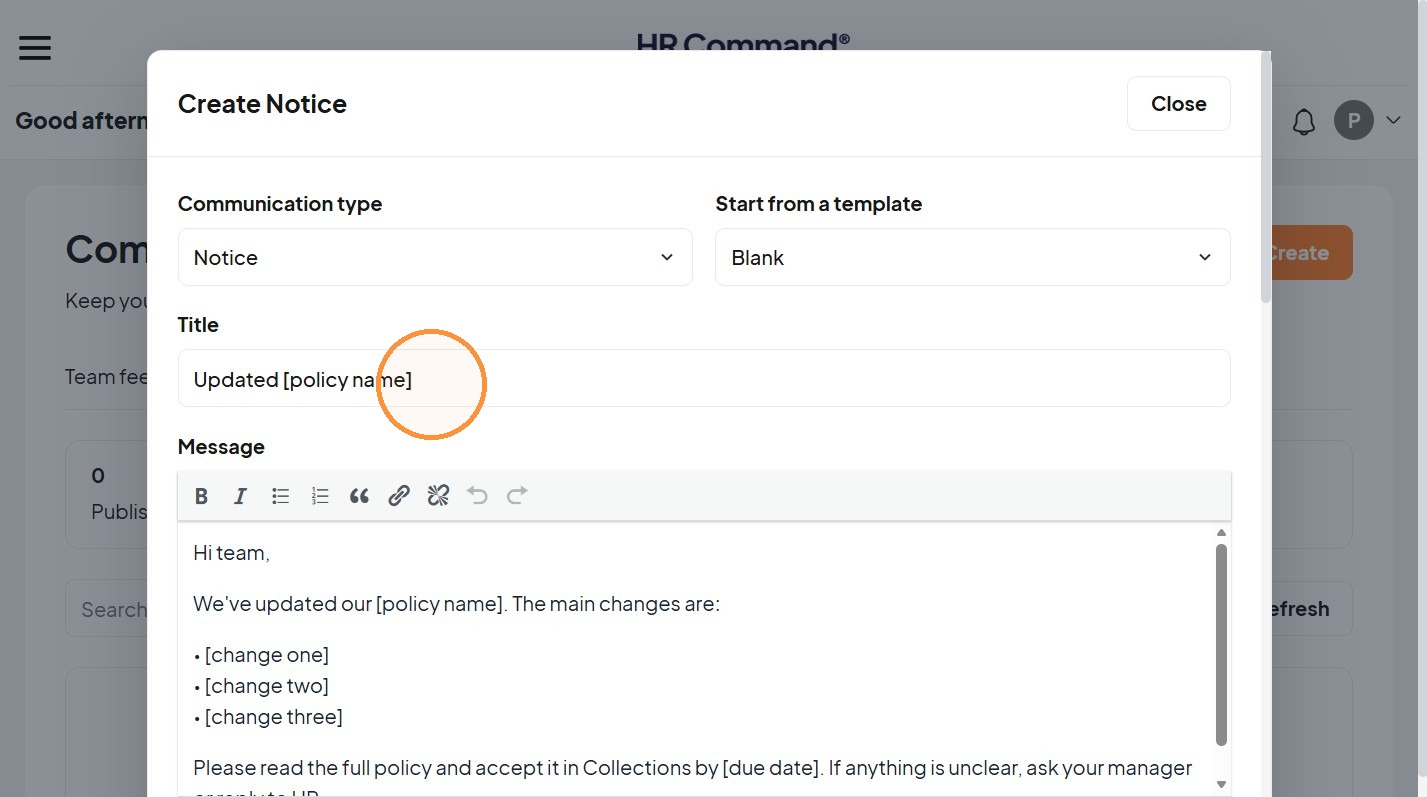
9. Use the editor for formatting the message.
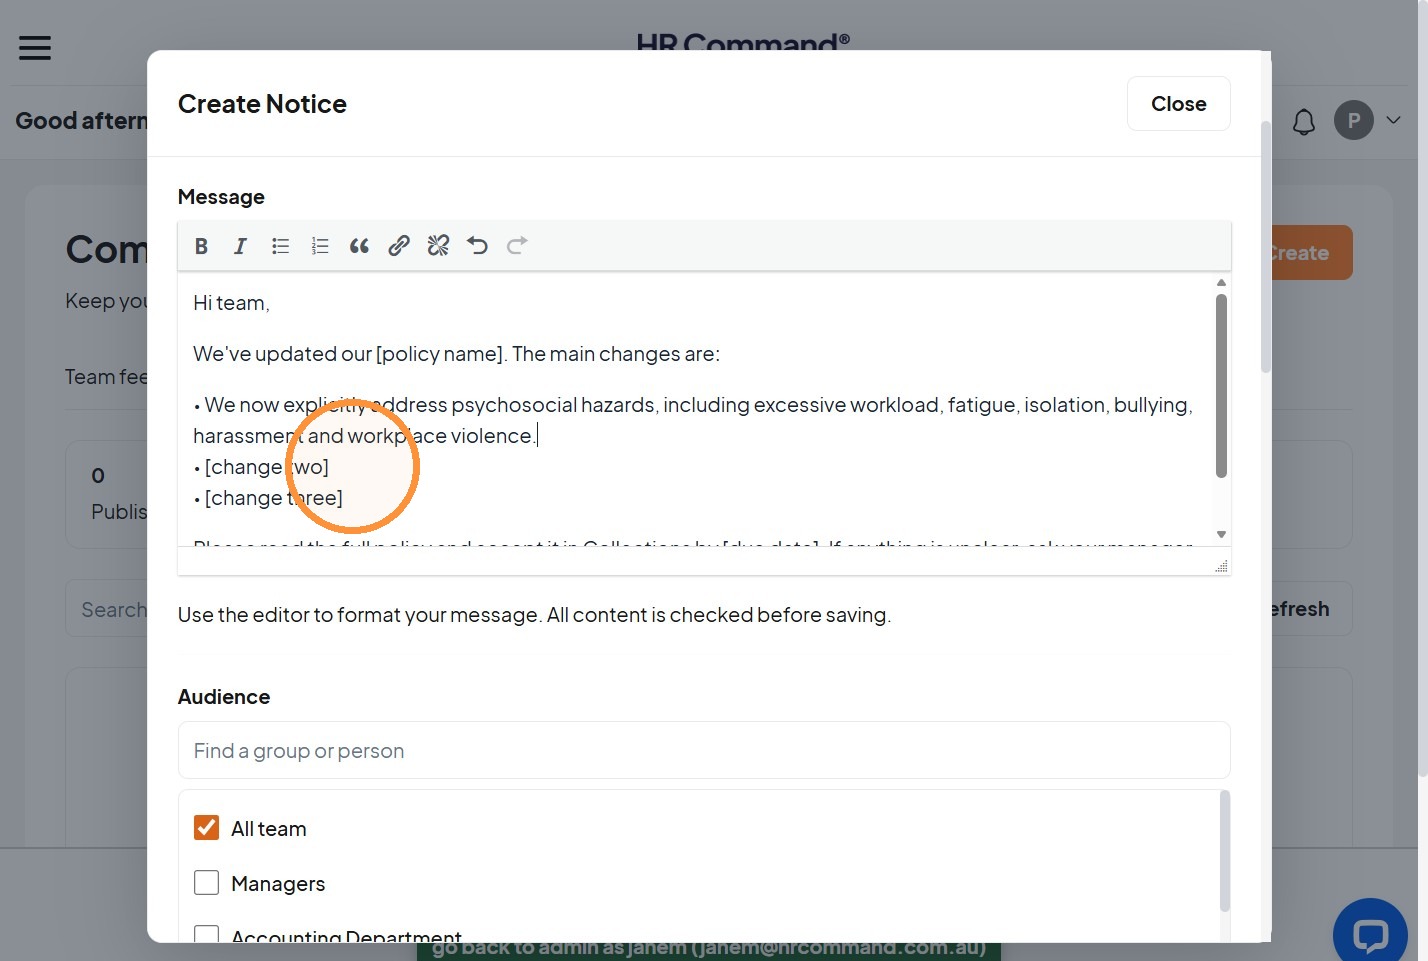
10. Search for a group or person and tick the intended recipients.
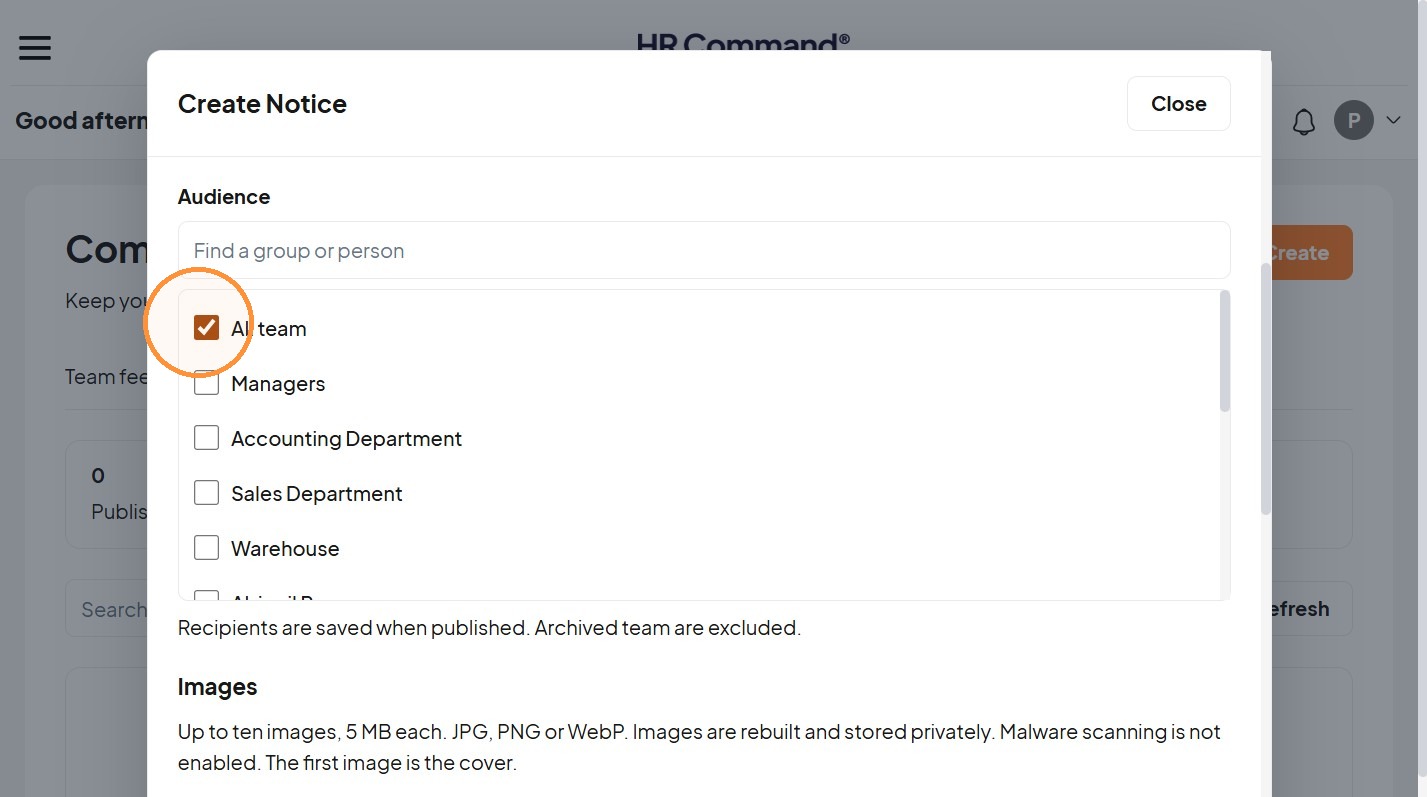
Configure Notice
11. Add images when available.
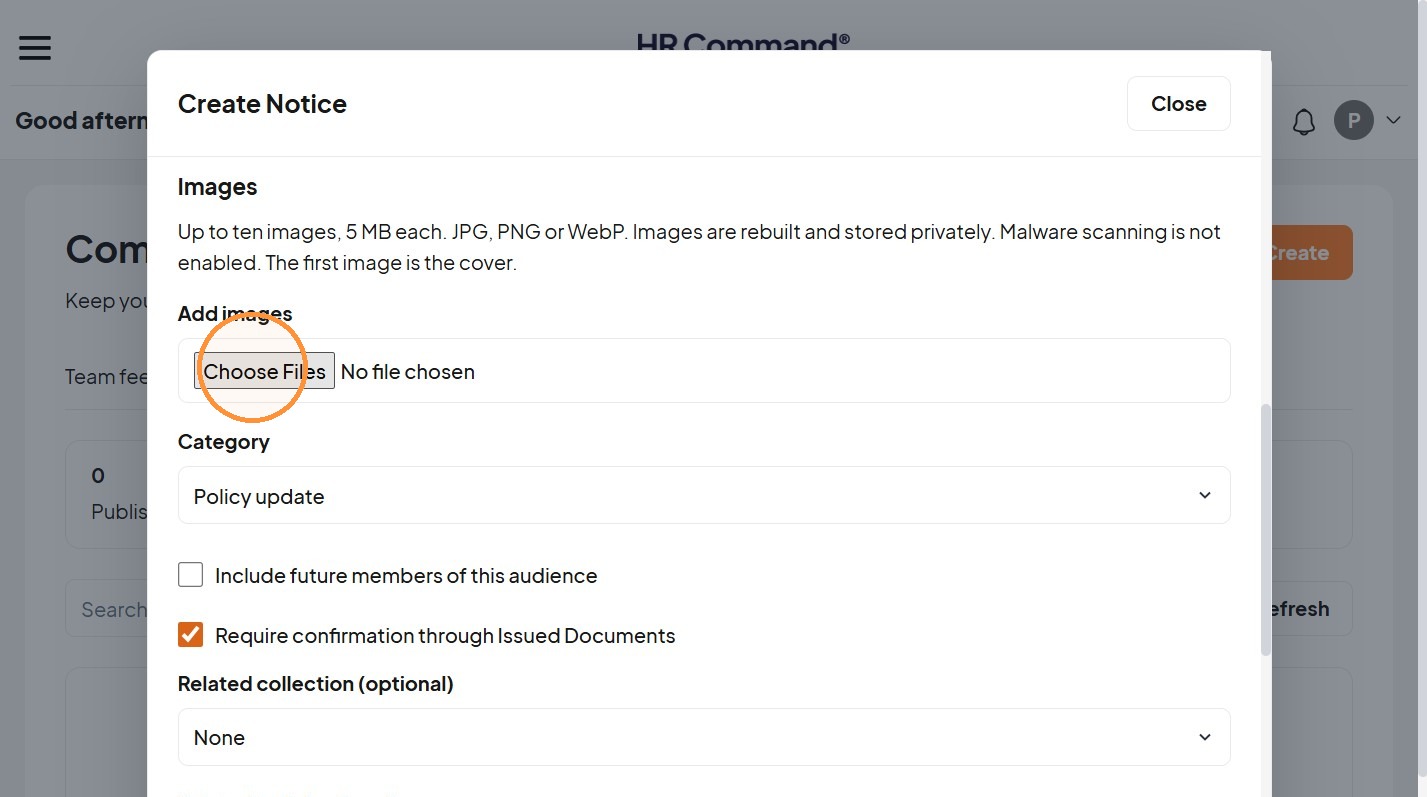
12. Enter the image alt text.
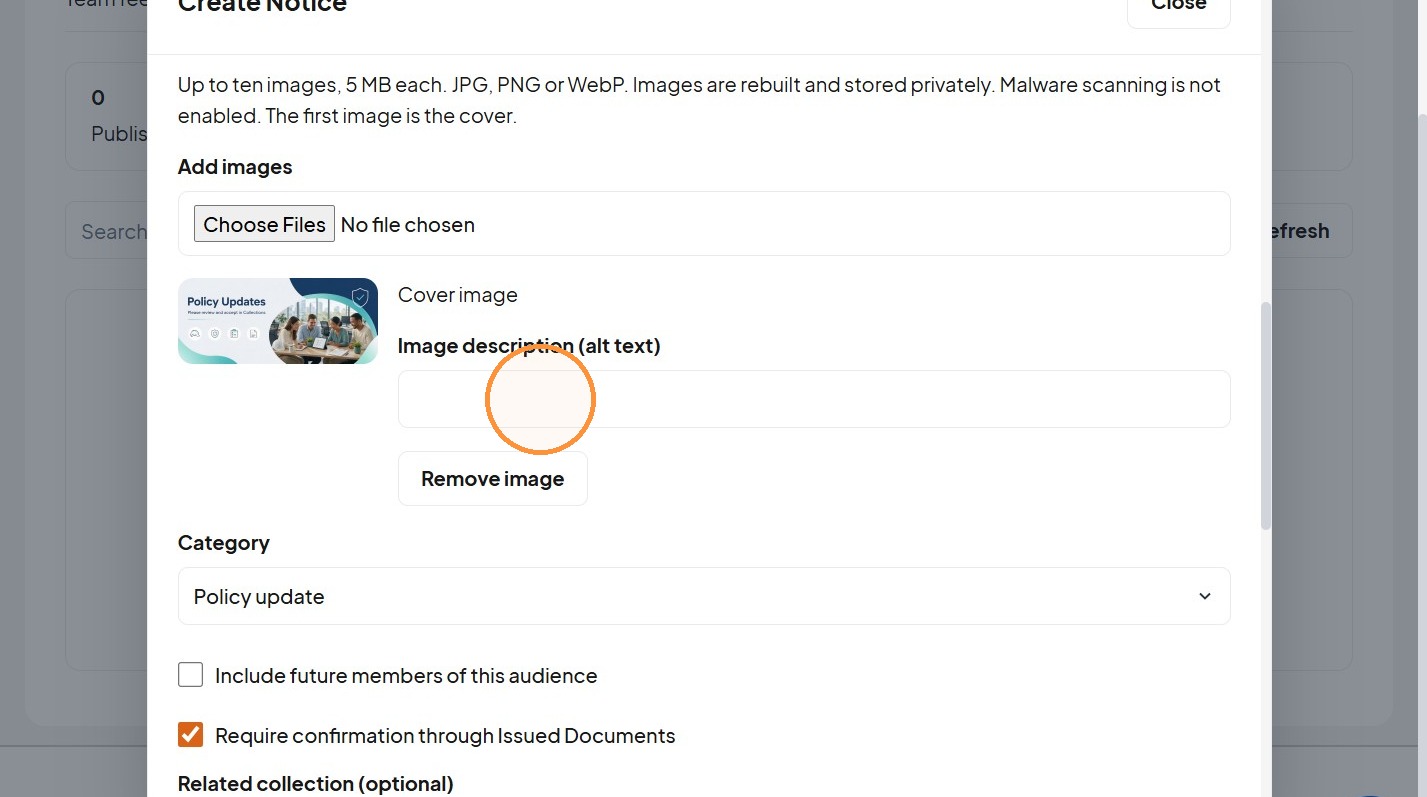
13. Choose a category such as General update, Policy update, Operations, WHS alert, Pay or People.
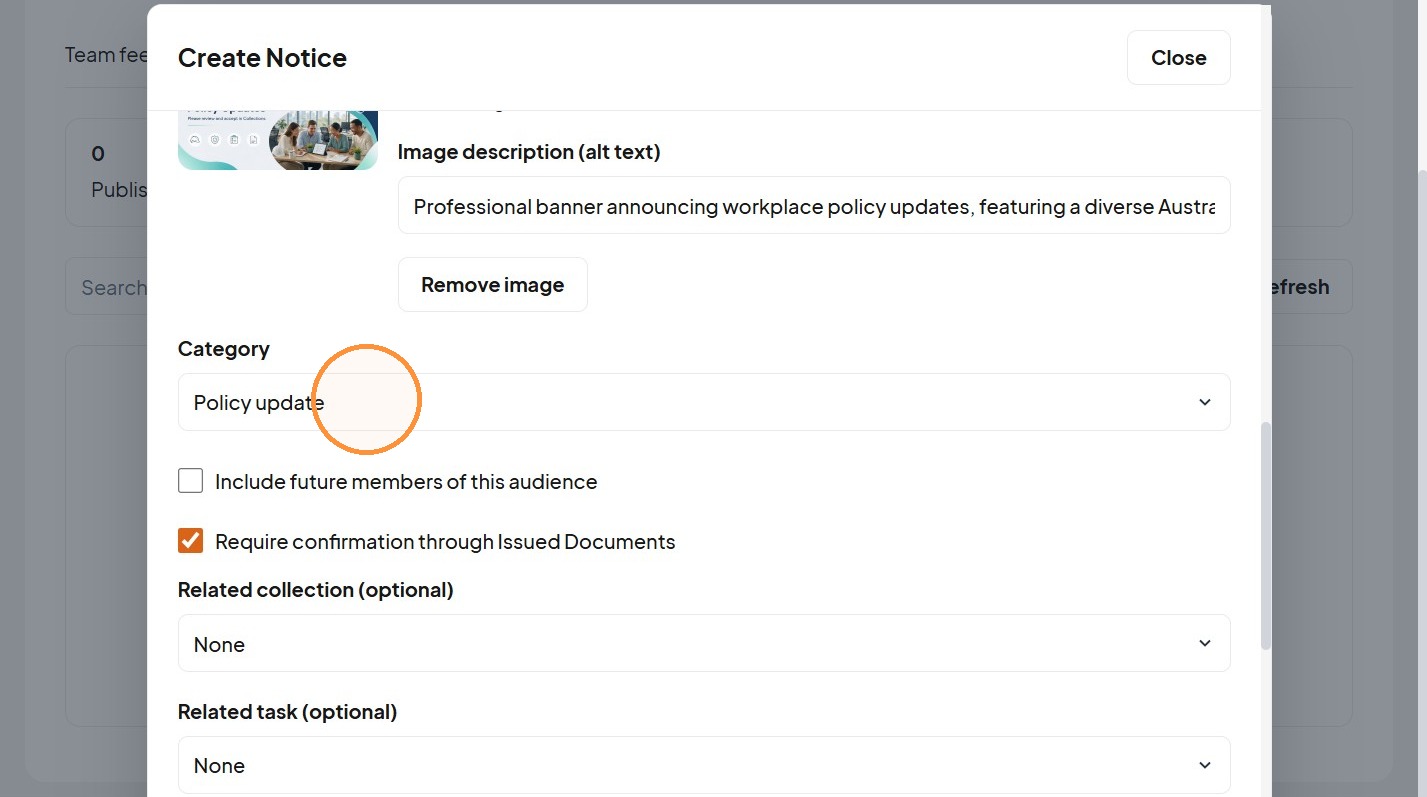
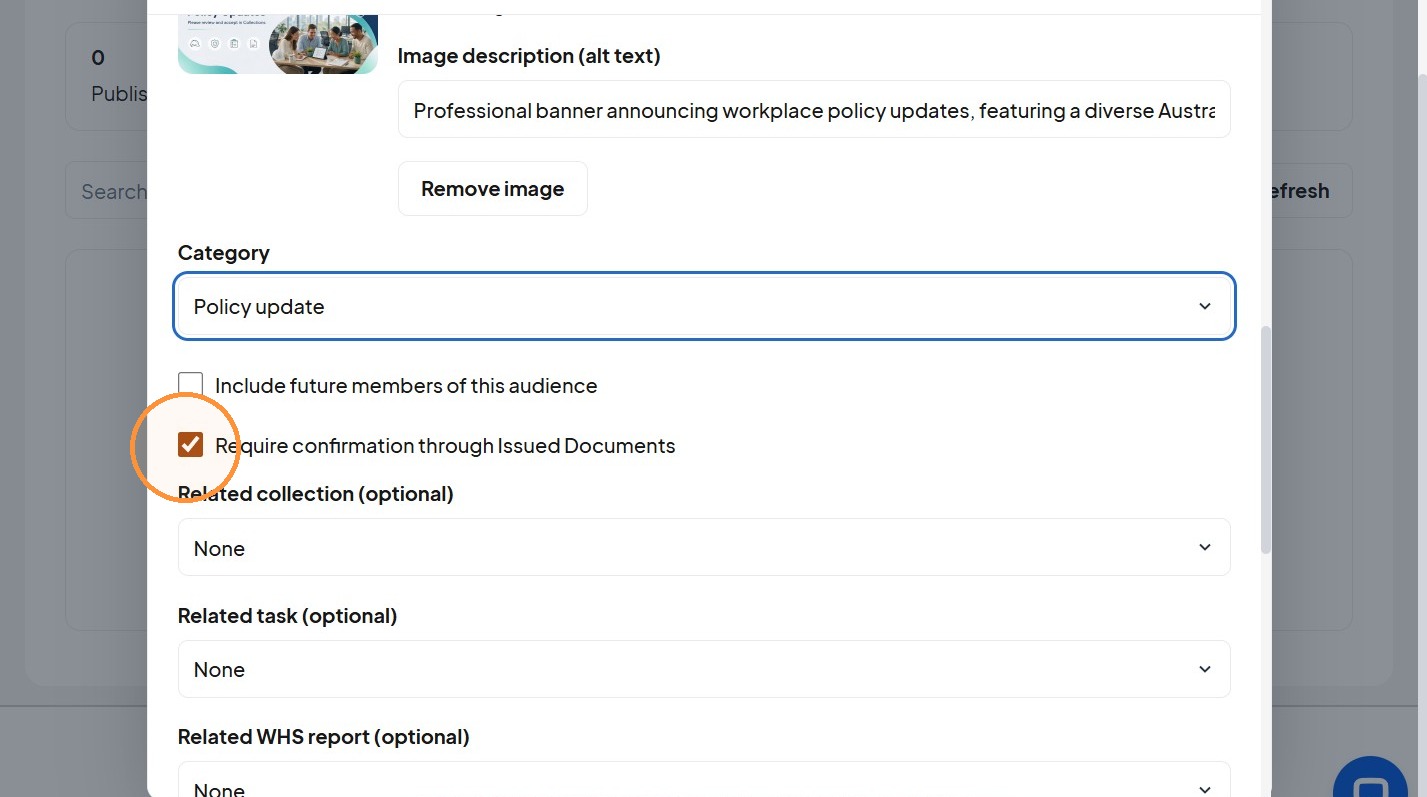
14. Tick Require confirmation through Issued Documents if a formal read confirmation is needed.
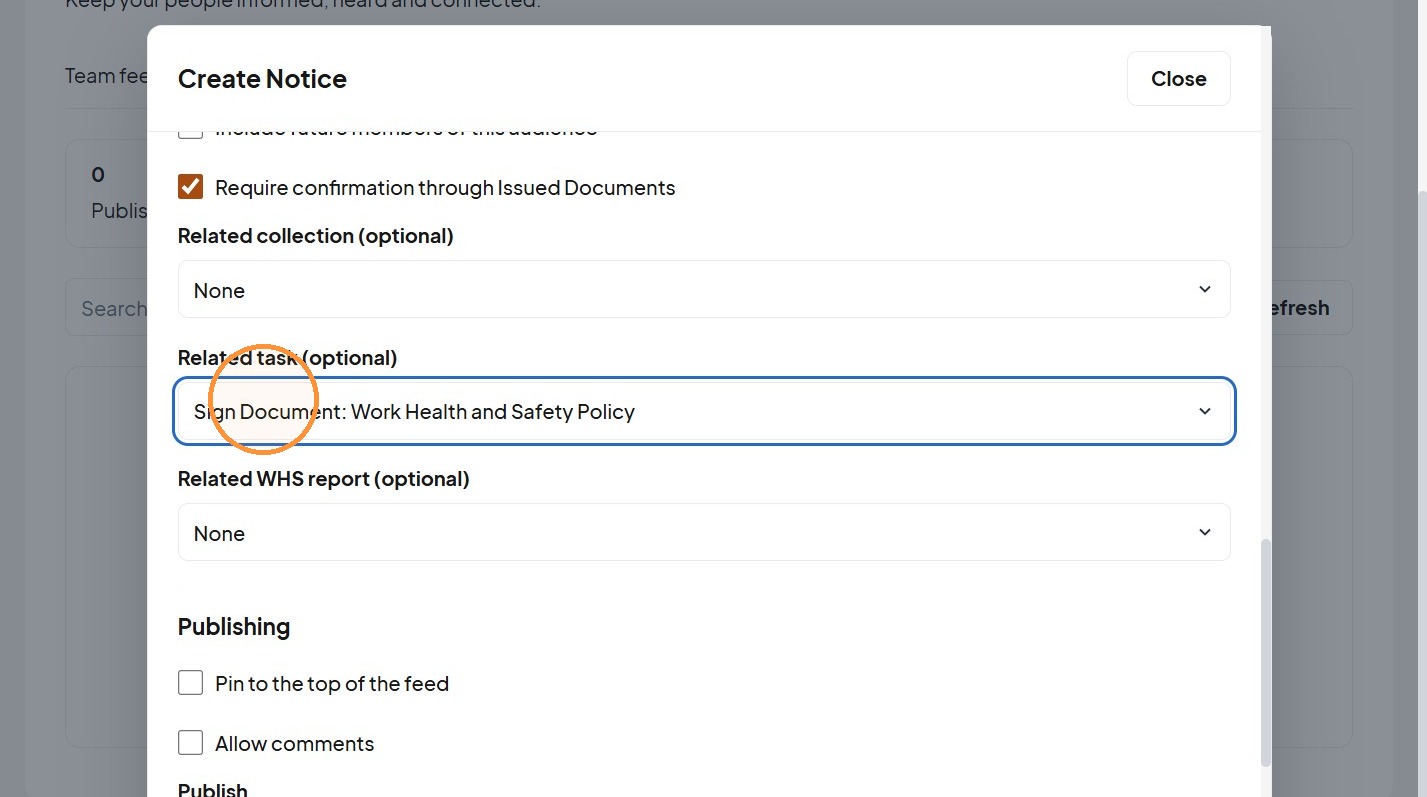
15. Link a related collection, task or WHS report where appropriate.
Publish Notice
16. Pin the notice if it should sit at the top of the feed.
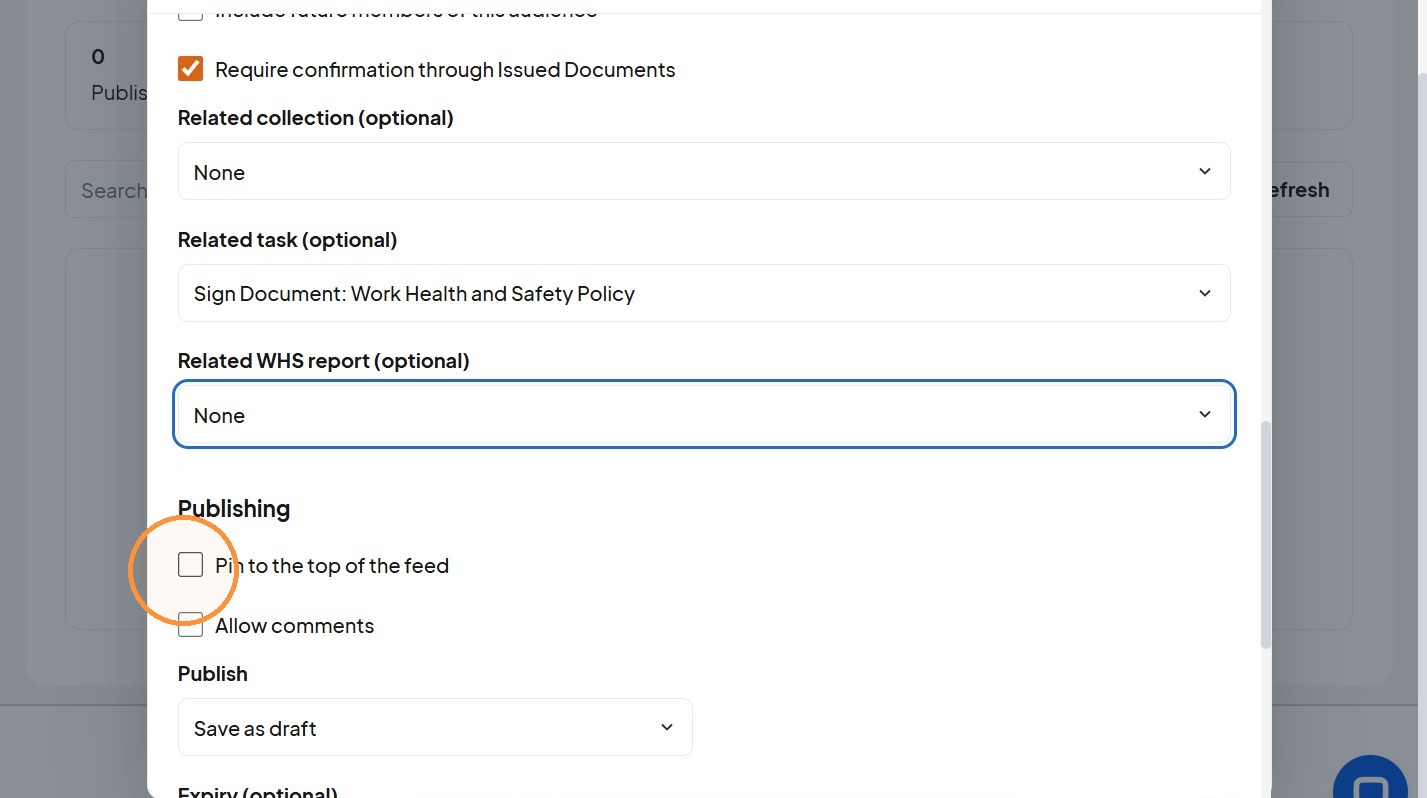
17. Open the Publish dropdown.
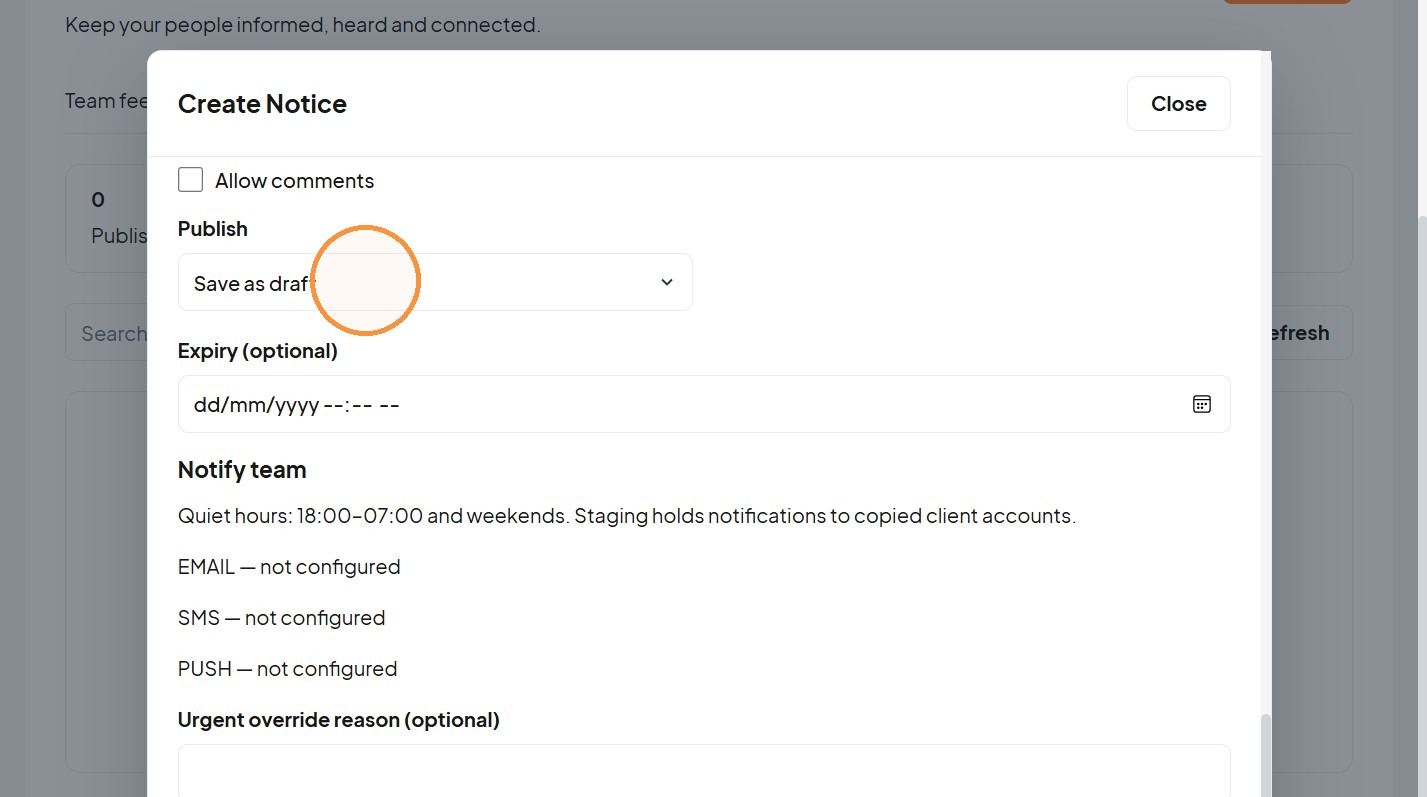
18. Select "Save as draft" or "Publish now".
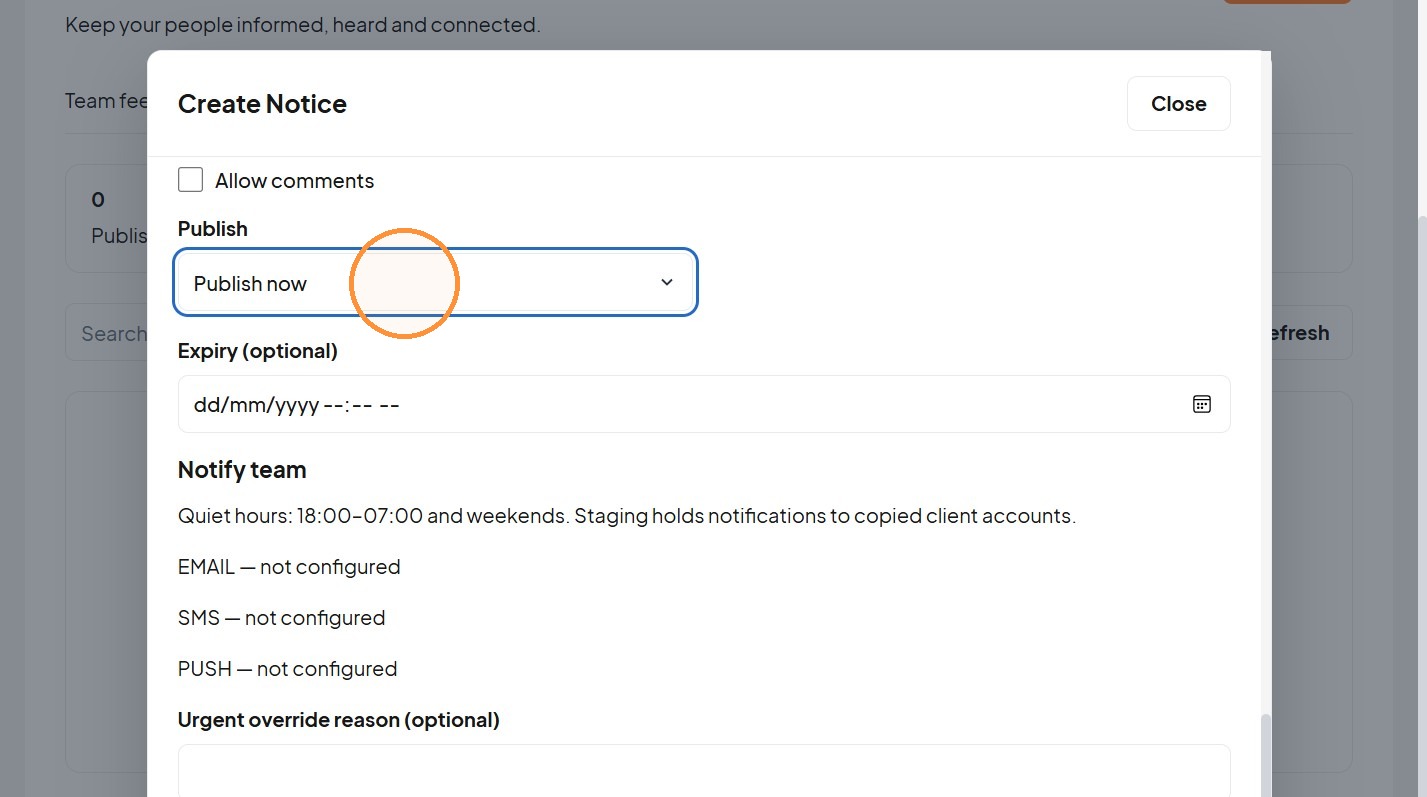
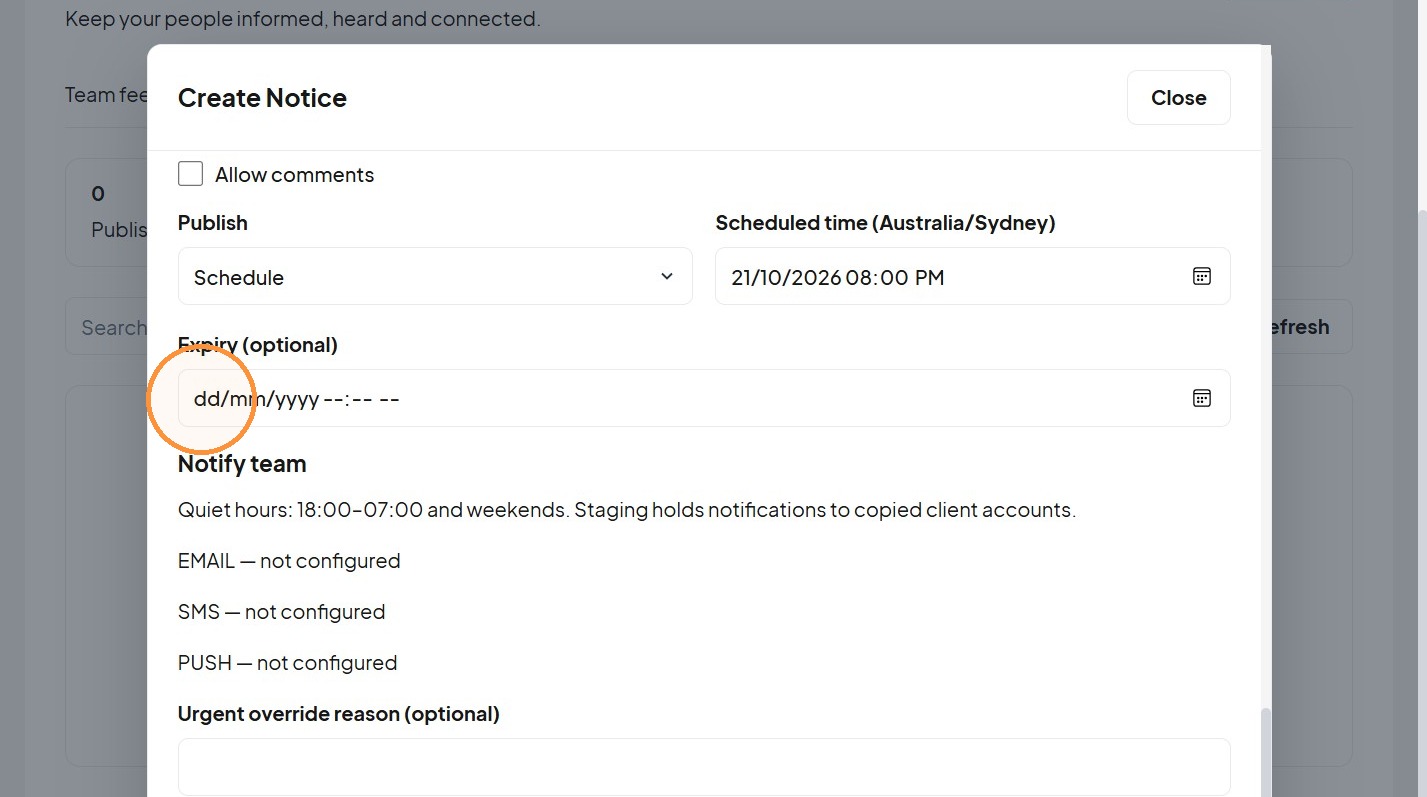
19. You can also select the "Schedule" option.
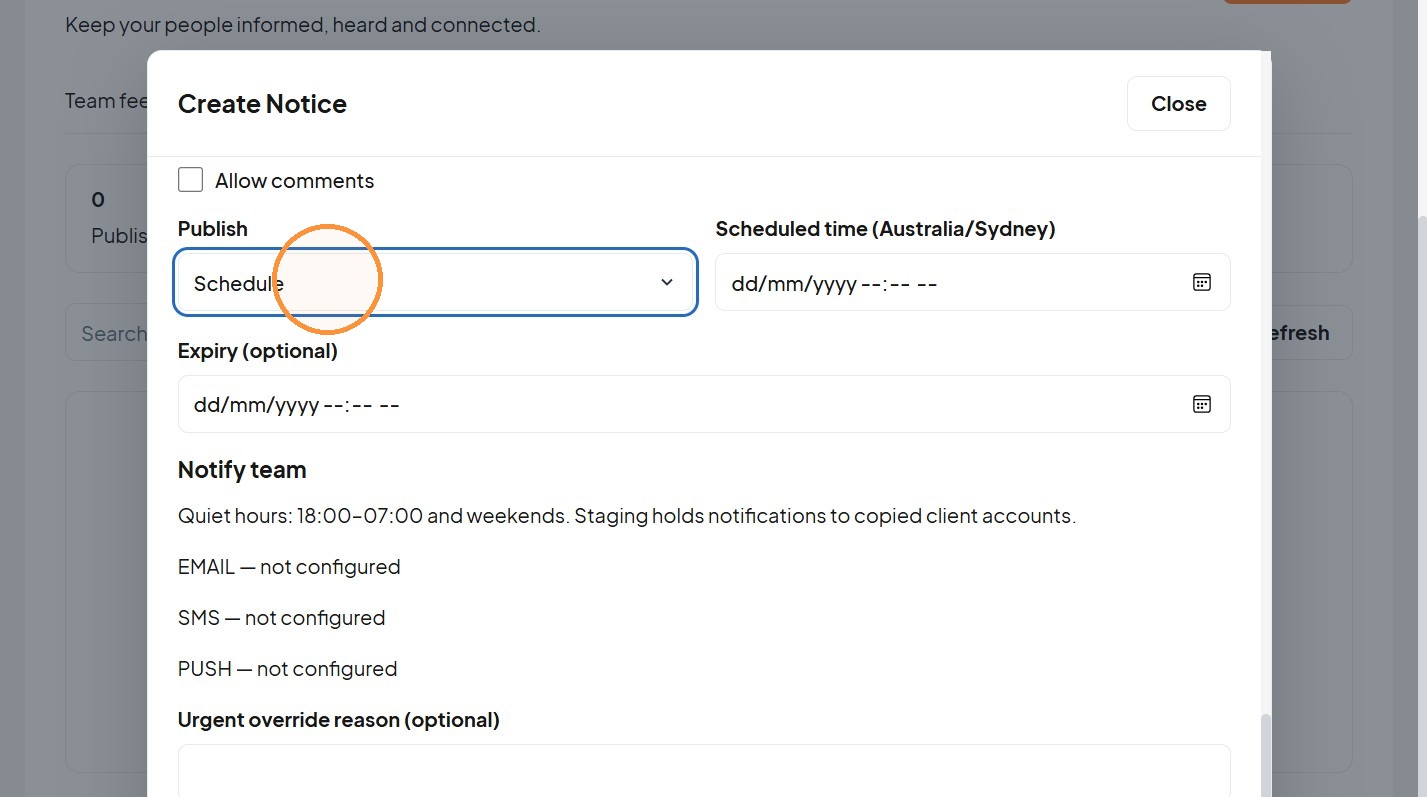
20. For scheduling, enter the date and time in the timezone shown beside the field.
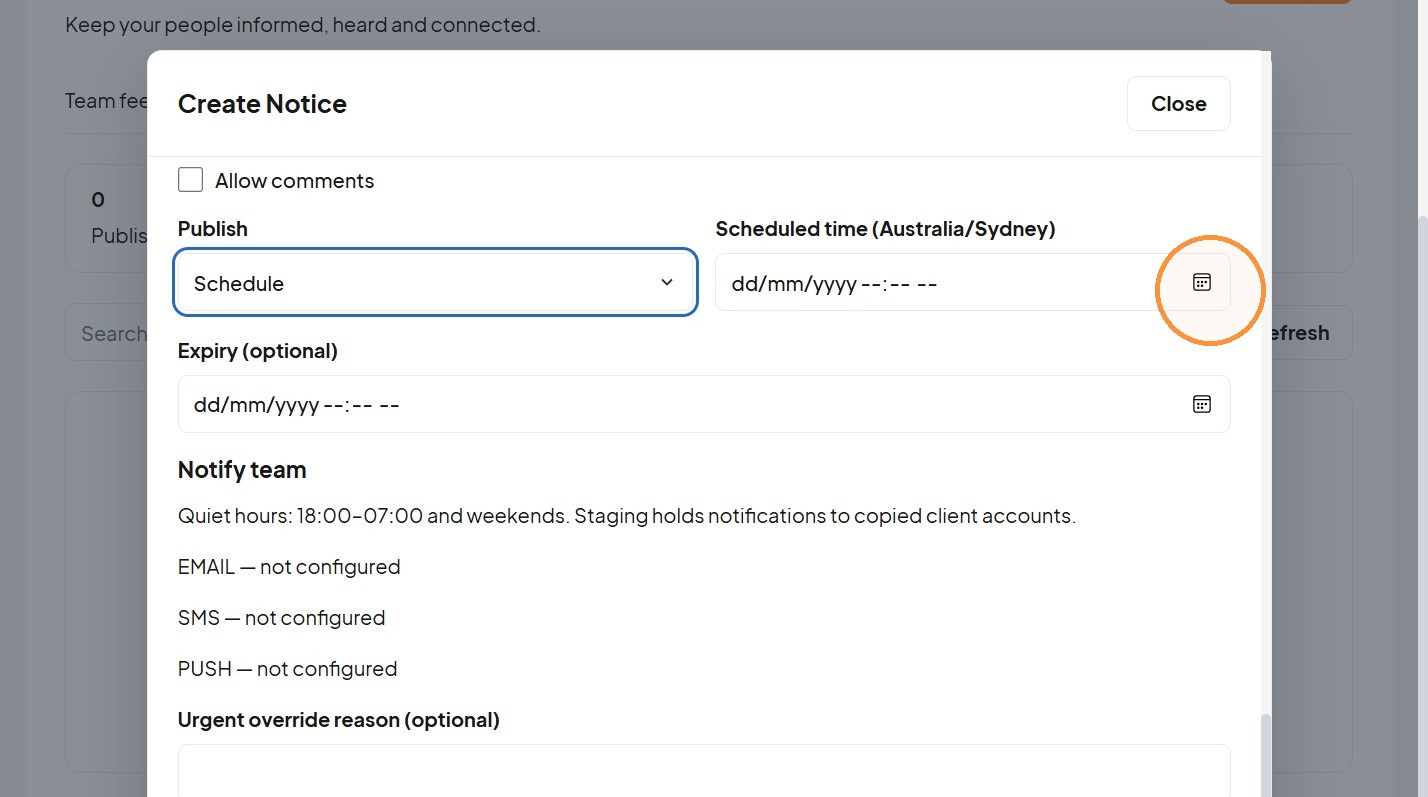
21. Add an optional expiry.
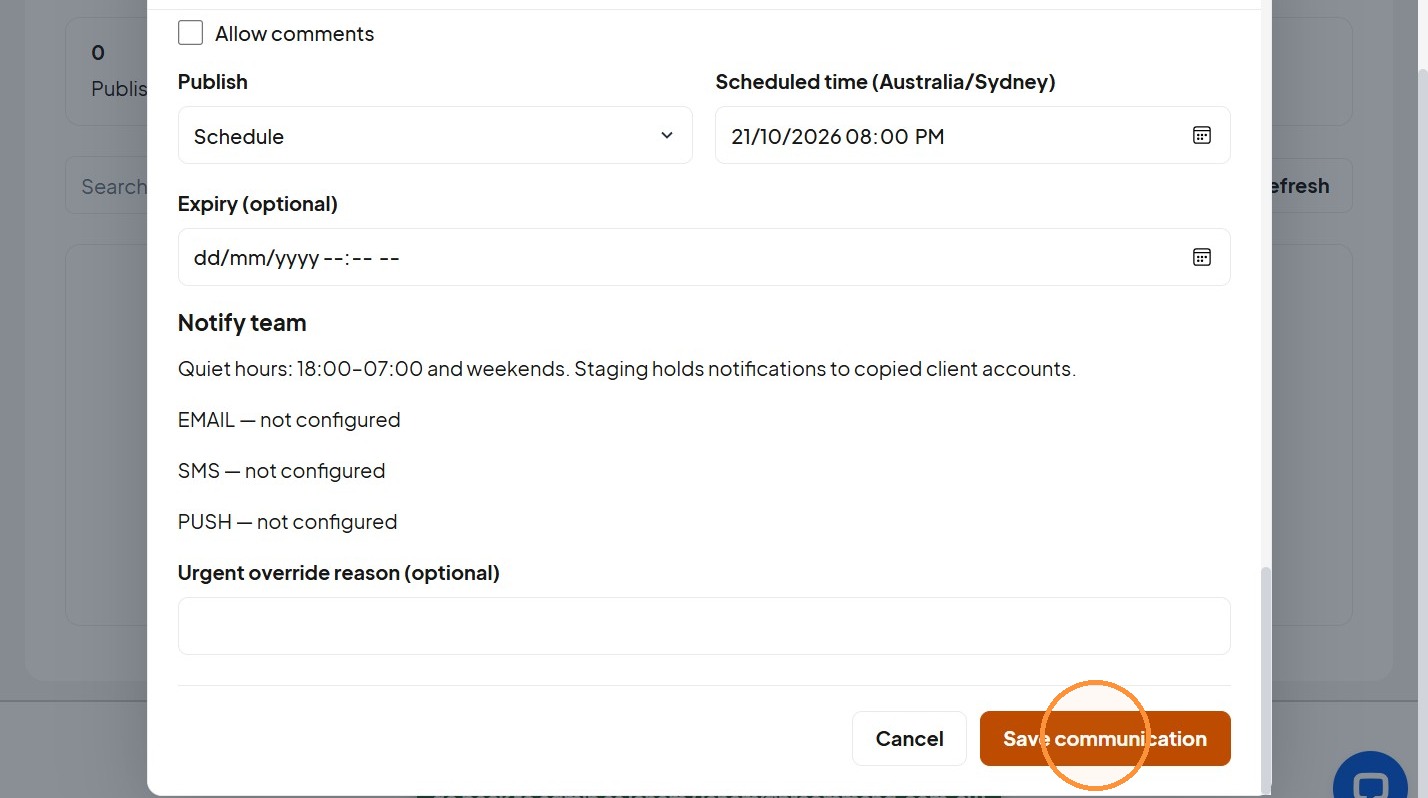
22. Click "Save communication"
Was this article helpful?
That’s Great!
Thank you for your feedback
Sorry! We couldn't be helpful
Thank you for your feedback
Feedback sent
We appreciate your effort and will try to fix the article